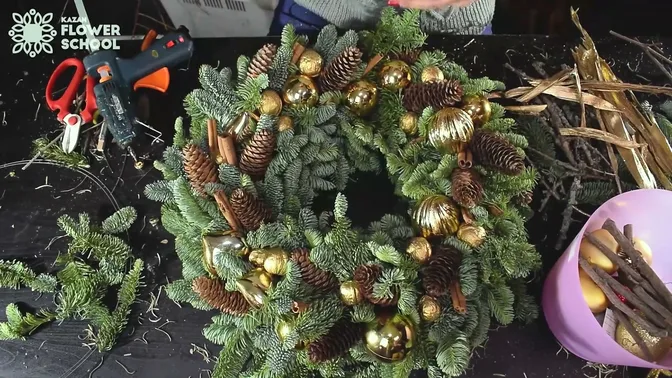
Choose fresh greenery if you want a green wreath with overlapping branch tips and a soft outer edge. Choose pinecones if you want the brown scales, rounded shapes and gaps between them to become the main texture. Both can begin with a firm hay ring. What changes is the way you cover it, the preparation you do and the place where the finished wreath will sit.
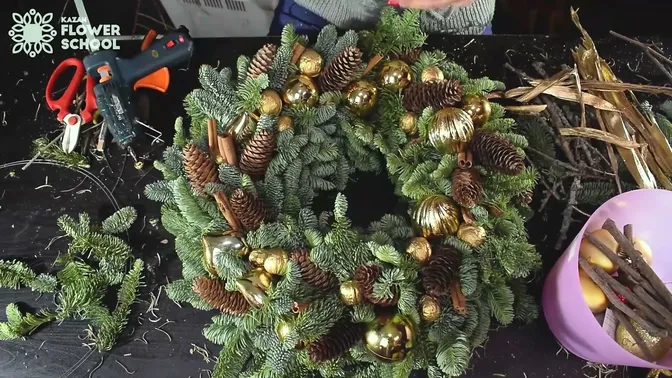
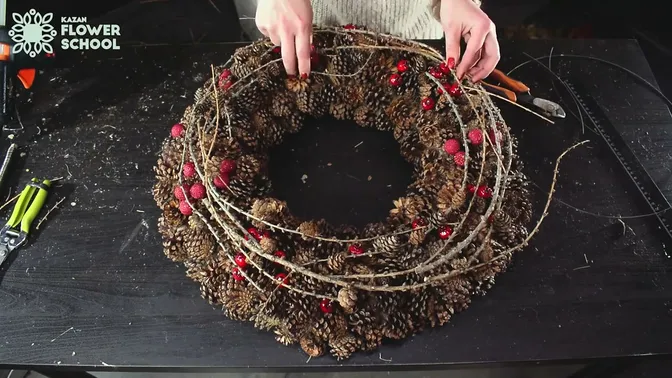
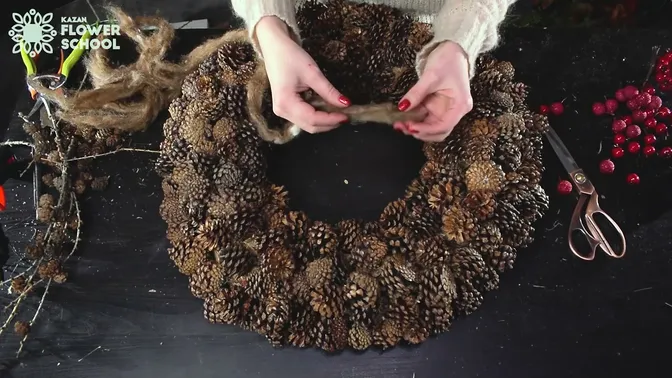
The fir wreath below carries cones, cinnamon and gold decorations among its branches. In the second wreath, pinecones cover the ring itself, with fine twigs and small red accents on top. A few cones added to greenery will not produce the same surface as a wreath built from cones throughout.
Compare the work before choosing the decoration
- Base: both examples use a firm hay ring. The greenery version wraps branches around it; the cone version receives individual wire fixings pushed into it.
- Texture: greenery produces overlapping sprays and a softer edge. Close-set cones produce a surface of separate woody shapes, with recesses between them.
- Preparation: greenery needs cutting into pieces that will overlap. Pinecones need sorting and individual wire fixings before you fill the ring.
- Placement: a fresh wreath needs a cool position and attention as the foliage dries. The cone wreath offers a dry-material option for an indoor wall or table.
- Finishing: greenery hides the preceding layer of binding wire. Cones leave small spaces that may need a discreet filling material.
These differences matter more than matching the exact colours of either example. You can use a quiet ribbon with greenery or a small red accent with cones and still keep the character of your chosen material.
Start with the base and the space it must fit
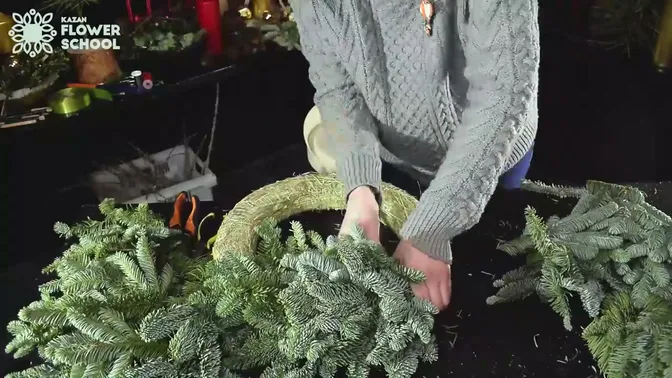
A firm hay ring supports both methods, so you do not have to choose greenery simply because you already have that type of base. With branches, reel wire holds each new layer against the ring. With cones, the two ends of each wire fixing enter the hay separately.
The examples use different starting sizes: a 40 cm ring for the fir wreath and a 50 cm ring for the cone wreath. Those are base measurements, not the finished outer diameters. Branch tips, cones and decorative twigs extend beyond the ring. Use the photographs to compare texture, rather than treating them as a scale drawing.
Measure the space before buying a base. On a door, leave room for the handle and for the door to open. On a table, check the opening inside the wreath as well as its outer edge. A large, full circle can leave little usable space around it.
Choose the surface you want to keep visible
Fir gives the eye many small lines travelling around the circle. Its branch tips soften the outline and provide places to tuck cones or decorations. In the gold example, the cones remain separate accents among the needles. The green surface still connects the whole wreath.
A mixed-greenery wreath can vary that effect. Different branch shapes and shades bring more contrast into the same overlapping method. Sorting the cut pieces by type helps you distribute them deliberately. You can also keep to one kind of fir for a more even surface.
Pinecones make a more broken, sculptural surface. Each cone has its own shape, so the circle depends on how closely you place them and how you fit smaller pieces beside larger ones. Fine twigs add long lines above the cone scales. Keep those accents light if the cone texture is the part you most want to see.
If you love both materials, decide which will cover most of the base. That choice gives you a construction method. Adding a few cones to a bound green wreath is a different task from wiring enough cones to cover the whole ring.
Pick the preparation you would enjoy
For greenery, much of the preparation is cutting branches into smaller pieces. The work then follows a repeating placing-and-binding movement. You judge the width of the green band as it grows, with extra attention where the last layers meet the first.
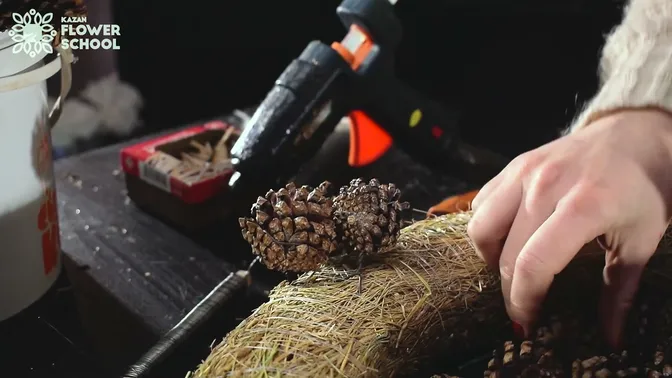
For a cone wreath, much of the preparation is repetitive wiring before you begin filling the ring. Cone size and shape affect the spaces left between them. You need enough material to cover the ring, but a count from someone else's wreath is a poor shopping list for different cones and a different base.
Choose the kind of work you want to do: cutting and binding successive layers, or preparing many separate pieces and fitting them together. Decoration comes after the surface has taken shape.
Look closely at the gaps
Fresh greenery covers a large area with each overlapping layer. Its cut ends and binding sit beneath the next set of branch tips. A thin patch usually means adjusting the coverage and direction of those branches before adding decoration.
Cones meet at irregular edges. Even a densely filled ring can show hay through small spaces. In the brown wreath, small pieces of brown fibre sit below the cone surface to cover those openings. They support the continuous brown colour without hiding the scales.
Look at the inner and outer edges as well as the front. Those edges are easy to miss when the wreath lies flat on the worktable. Before you add the fine twigs and red details, lift the ring carefully and check it from the angle in which you plan to display it.
Let the display position guide the care
For fresh greenery, choose a cool spot away from direct sunlight and drying air from heating vents. Warmth and dry indoor air make cut greens deteriorate. A cool, sheltered outdoor position can suit fresh greenery; a warm porch may still dry it out. Check that any ribbon and decorations are suitable for that exposure too.
Check the foliage while it is on display. Remove an indoor fresh wreath when the greens become dry. Misting cut greens requires regular attention to have an effect; it cannot turn a warm position into a reliable promise of freshness. There is no single lifespan to apply to every wreath.
The cone version avoids the task of keeping cut foliage fresh. Give it a dry indoor position and handle it by the base, keeping pressure off the fine twigs. Check the wire fixings and decorations when you move it. Reuse will depend on the condition of the whole wreath, including its base and attachments.
Both examples can become wall decorations; the cone wreath can also lie on a table. Check your actual hanger, attachment and finished weight before hanging either one. The guide to finishing and hanging a handmade wreath covers that part of the work.
Choose your wreath, then follow its method
If the green ring and overlapping tips are what you want, start with the fresh evergreen wreath guide. It follows the fir surface through to the decorated circle. For a closer view of the binding, final join and gold finish, choose the Classic Fir Christmas Wreath video (video details).
If you prefer a full brown surface with fine twig lines, start with the pinecone wreath guide. It explains individual cone fixings and filling the gaps. The Natural Pinecone Christmas Wreath video (video details) gives a closer view of those movements and the red accents.
Each video is €9.99, with English audio, English subtitles and six calendar months of access. Choose the one for the wreath you want to make. For other shapes and materials, browse the Christmas wreath ideas.