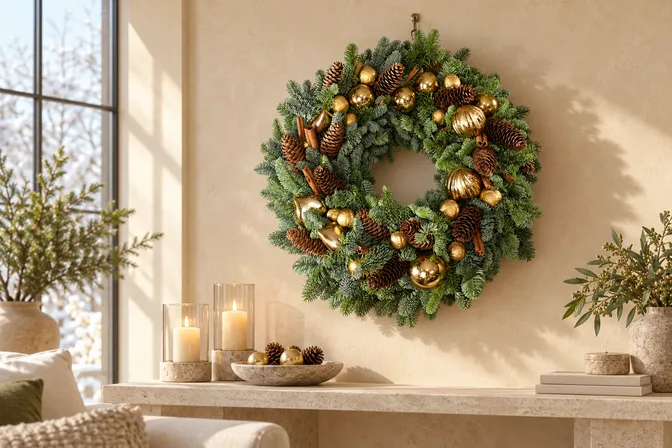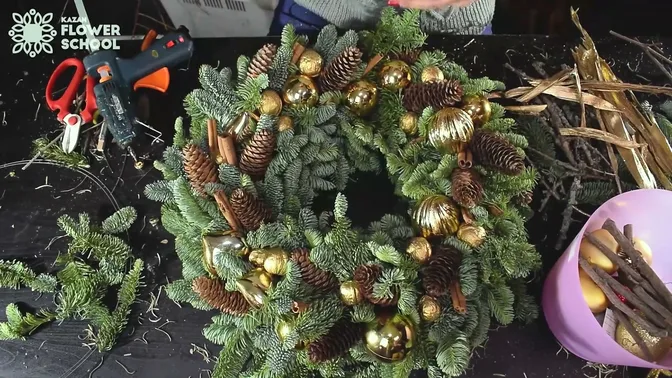
Finish the join, cover an exposed base and add a hanging point before putting your wreath on a door or into a gift box.
A patch of exposed wire interrupts the circle of greenery. A loose end on the back catches when you turn the wreath over. Before adding another decoration, look at the join, turn the wreath over and decide which part will sit at the top.
The fir-and-gold wreath, the red-apple wreath and the mixed-greenery wreath with a velvet bow below are three separate projects. Each offers a useful finishing detail. The hanging details described here belong to firm hay or straw ring bases.
Keep the binding wire, wire cutters and a hot-glue gun within reach. For a covered back, add felt, fleece or hessian. The examples use 1.2 mm wire for their hanging points. Ribbon and a tissue-lined box are optional finishes for a gift.
Close the greenery into a continuous circle
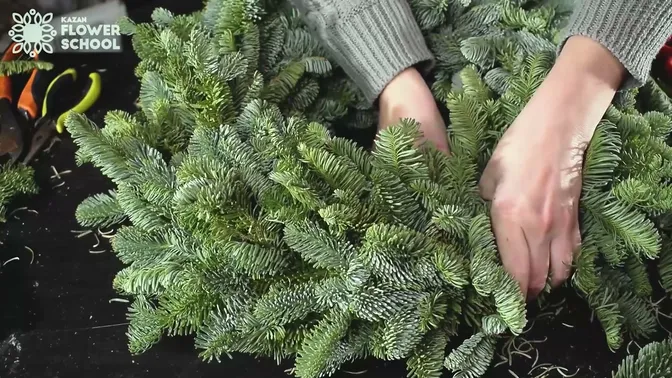
Keep the first layer of greenery free when you reach the last part of the ring. Lift it gently and slide the final pieces underneath. The tips of the first branches then cover the cut ends and binding at the join.
Look across the ring before making the final wraps. The join should have about the same fullness as the sections beside it. A large last bundle creates a lump; too little greenery leaves the base visible. Adjust the pieces while you can still reach their stems.
In the fir-and-gold wreath, the finished foliage flows clockwise. Preserve that direction as you close the circle. You can follow the full arrangement of branches in the fresh evergreen wreath guide.
Finish the binding wire on the back
The fir-and-gold wreath has a simple wire ending: the final length goes under the previous bound layer, and the cut tip is pushed into the hay base. It leaves the wire end inside the ring instead of projecting from the back.
The mixed-greenery wreath uses a different finish. After binding the last layers, turn the wreath over while holding the wire. Make a loop, pass the reel through it and pull it tight. Repeat this a couple of times, cut the wire and tuck the end into the hay.
Do this before adding fragile decorations. The mixed-greenery wreath will carry glass baubles. Its binding and hanging loop are finished first, because turning the decorated wreath over can break the glass.
Cover an exposed hay base
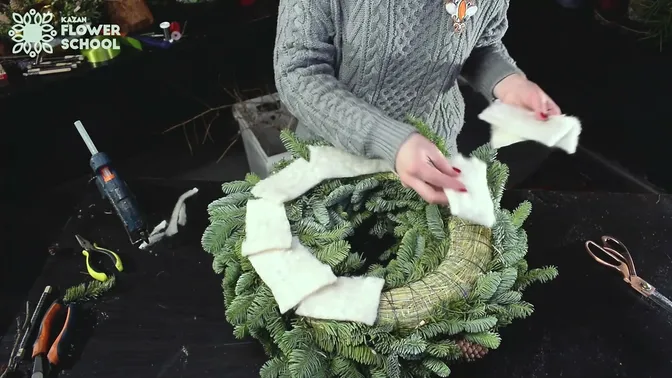
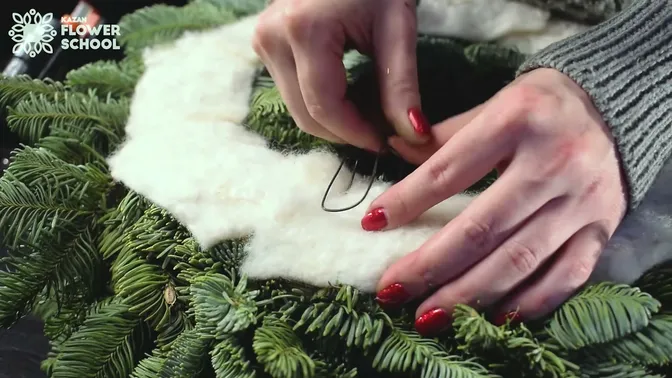
A fabric backing gives the fir-and-gold wreath a neat reverse. Cut felt, fleece or hessian into rectangles. Lay them around the exposed ring, then apply hot glue around the edge of each piece and attach it to the base.
Keep the backing within the wreath's outline. From the front and through the open centre, the greenery should remain the visible edge. Turn the wreath to check the inner rim as well as the outside.
The white backing in this example is felt. It is a finish for the exposed base; the hanging wire still needs to enter the base beneath it.
Choose the top before the final decorations
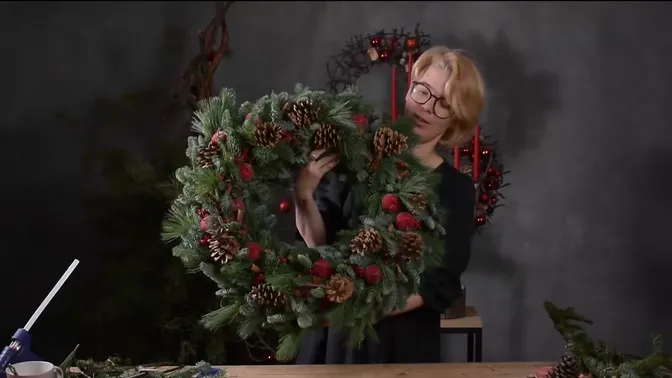
Hold the wreath upright in its intended orientation before deciding where to finish the decoration. The open centre and the main groups of materials should still read clearly when the wreath is vertical.
The red-apple wreath has its main concentration of cones and apples in the upper part of the ring. Its decorations follow the direction of the greenery. In the mixed-greenery wreath, a velvet bow and its hanging tails give the design a different emphasis. Decide which arrangement you want before placing the loop at the top.
The bow is decoration; the wire loop behind the wreath is the hanging point. In the velvet-bow version, the ribbon is wound around four fingers about five times to make overlapping loops. A separate length of ribbon draws the middle together on the wreath, and the loops are opened out. The hanging tails are made and attached separately.
For a fuller comparison of shapes and materials, browse the Christmas wreaths guide.
Put the hanging loop into the base
The fir-and-gold wreath uses 1.2 mm wire folded in half. The ends are bent into hooks and inserted through the felt into the hay on the reverse. The loop remains accessible above the backing.
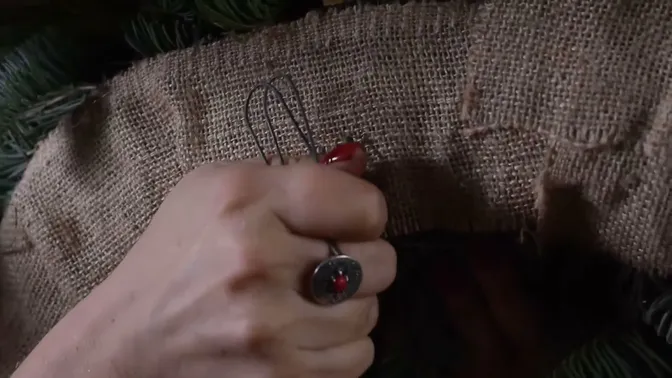
For the mixed-greenery wreath, the starting piece is 40 cm of hardened 1.2 mm wire. Fold it in half to form a loop. Push the two ends through the base from the back so they emerge on the other side. Bend the ends back and return them into the hay. Turn the loop upwards on the reverse.
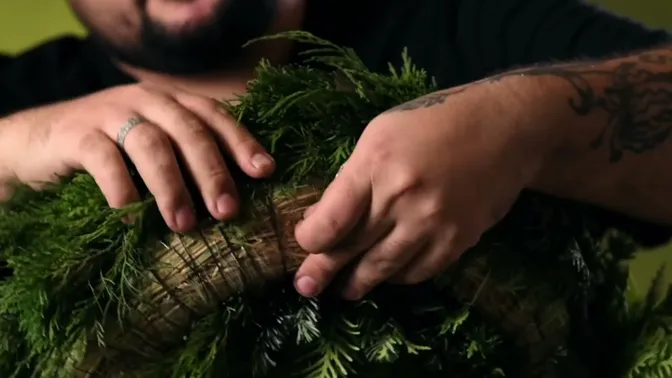
The red-apple wreath uses a third type of loop: two pieces of 1.2 mm wire with their ends bent back before being inserted into the reverse of the straw base.
For the wall or door, choose a fixing suited to the surface and the weight of the finished wreath.
Let the greenery show around the decorations
Lift the branches when inserting wired cones or apples into the base. Set the wire beneath the foliage so the decoration sits among the branches. Pressing a large ornament down from above can flatten the greenery around it.
The red-apple wreath uses wire for its larger cones and apples, with hot glue for smaller details such as cinnamon and star anise. This keeps the choice of fastening tied to the particular decoration. A small glued detail and a cone mounted on wire are different attachments.
Look along the surface for visible glue and displaced branches. Reopen the foliage around the decorations, then check that the final grouping has not hidden the centre or changed the outline you wanted.
Put a gift wreath in a box without crushing its shape
For the velvet-bow wreath, tissue paper lines a lidded box. Crumple a few sheets for the bottom. Arrange four more sheets with part of each sheet extending over the sides, then place the wreath in the centre.
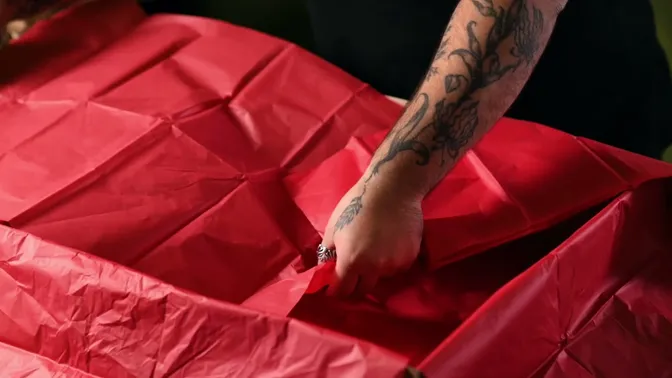
Check the tips, bow and decorations as you lower it into the box. Fold the projecting tissue over the wreath and put on the lid. A ribbon around the closed box finishes the gift presentation.
The box needs room for the actual wreath, including its projecting branches and decorations.
Check the front, back and hanging point together
Before putting the wreath in place, turn it through the same views you have worked on: the front, the open centre, the outside edge and the reverse. Check that the greenery covers the join, cut wire ends sit inside the base and the hanging loop remains accessible. Look for a decoration that shifts as you change the wreath's orientation.
If you are giving the wreath away, show the recipient its hanging point before packing it. The bow and decorative branches can then stay as you arranged them when the wreath comes out of the box.
To make the fir-and-gold version from the base onwards, see Classic Fir Christmas Wreath (video details), an English step-by-step video. For more projects to make for your home or as gifts, return to Christmas and Winter Floristry.