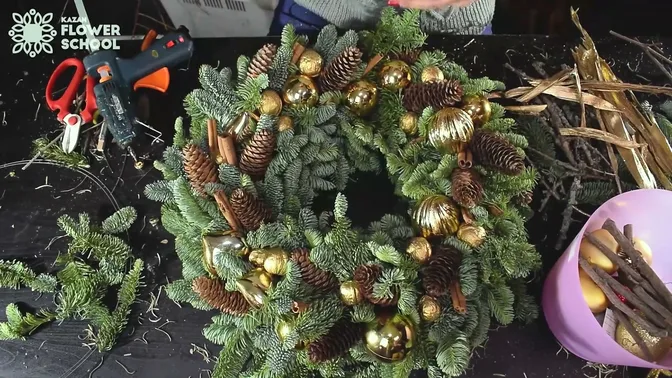
A fresh evergreen wreath brings the shape and texture of winter branches to a door or wall. Its beauty starts underneath the decorations: a firm ring, a clear centre and layers of foliage that flow in one direction. Get those three things right and the wreath can look complete with only a few cones.
Here, short pieces of fir are bound around a natural hay base. The next layer hides the wire of the previous one, and the last pieces tuck under the first. The photographs follow a classic fir wreath. A separate version adds soft pine to the same method; its base-making and finishing details are explained separately below.
Prepare the base, greenery and tools
For the classic version, prepare a firm hay wreath base, fresh fir branches, binding wire on a reel, secateurs and wire cutters. The base shown is 40 cm across before the greenery is added. The greenery will extend beyond this base.
For the back, set out felt, fleece or hessian and a hot-glue gun. For the decoration shown, gather pinecones, firmer floristry wire, small gold ornaments, nuts and cinnamon sticks. Broken pieces of banana leaf add a final papery texture. You can stop after the cones if you prefer a quieter finish.
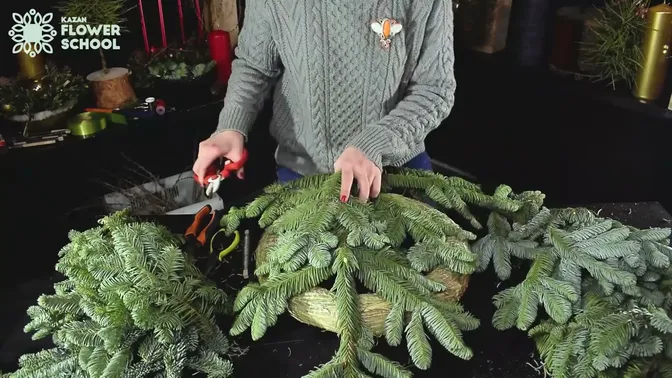
Keep the wreath on the table as you work so that you can turn it and see the inner and outer edges. Use cutters for wire and secateurs for the branches. Keep cut wire ends out of the finished surface, and take care with hot glue.
1. Cut the fir into useful short pieces
Turn the branch over so that you can see its back. Cut away the side shoots and use the attractive central pieces as well. The aim is to make small pieces that can overlap neatly, with their cut ends hidden inside the wreath.
Sort the pieces by width before binding. Narrow pieces are useful around the inside edge, where bulky branches would close the centre. Fuller pieces give the front and outside edge their volume. You are building a ring, rather than a solid cushion of greenery.
2. Anchor the wire and lay the first layer
Secure the reel wire to the hay ring by twisting it onto itself, then tuck the loose end into the base. Lay the first group of fir pieces across the front and sides. Leave the flat back clear for its fabric covering.
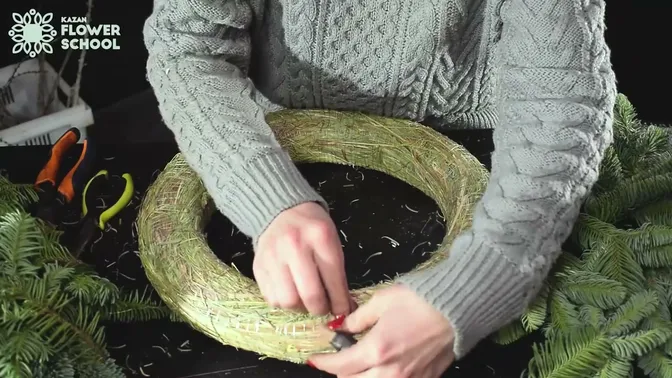
Wrap the wire firmly around the base and the cut ends. The classic fir version uses three turns. The mixed-greenery version uses about three or four and leaves roughly 2–3 cm of stem beyond the binding. The important result is a secure grip: the wire must hold the stems, rather than slide off their tips.
3. Work around the ring in overlapping layers
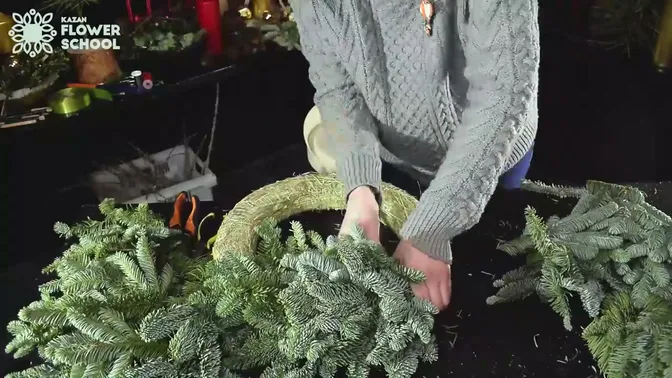
Add the next layer far enough forward for its needles to cover the previous wire. Keep its pieces starting at a similar level. Continue around the ring, adjusting the inner and outer edges as you go.
In this example, the branch tips point clockwise while the maker advances around the base in the opposite direction. Keep that direction consistent. A change halfway around would interrupt the movement and make the join harder to conceal.
For a softer version, mix a few long-needled pine pieces with the denser fir. This is the approach shown in the separate mixed-greenery version. Use narrow pieces close to the centre and reserve the fuller branches for the front. Check the opening repeatedly; it is much easier to keep it clear than to recover it after binding.
4. Close the circle under the first layers
As you approach the starting point, lift the first layers gently. Slide the final pieces beneath them, rather than binding the first branches flat under the last ones. Work the inner and outer edges separately if they need different amounts of foliage.
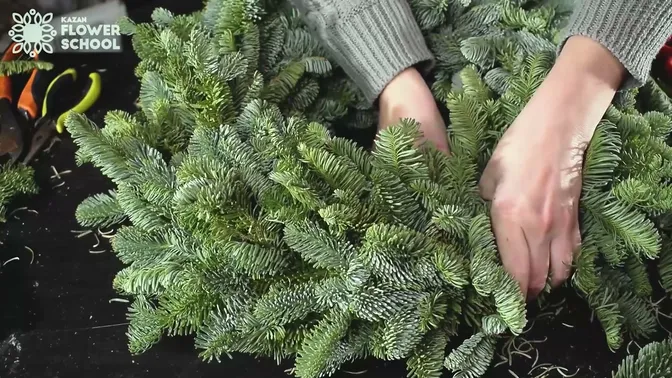
Release the lifted branches and straighten their tips. Look for a continuous flow with no obvious beginning or end. Secure the wire beneath an earlier binding, cut it and tuck the end into the hay base.
5. Cover the back before adding decoration
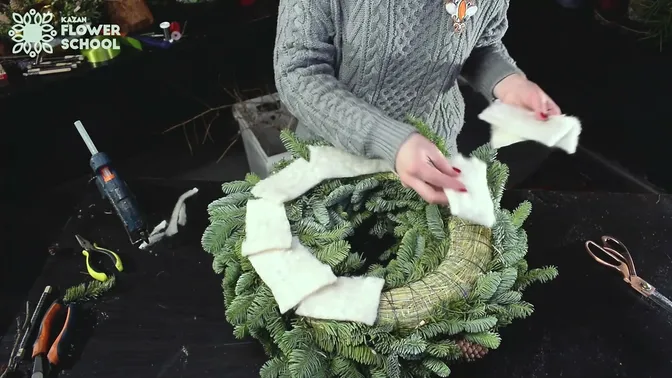
Turn the wreath over. Cut dense felt, fleece or hessian into pieces that cover the exposed hay and wire. Glue them over the back in overlapping sections, following the ring. Keep the centre opening clear and check that no wire end projects through the fabric.
6. Wire the cones and keep the greenery visible
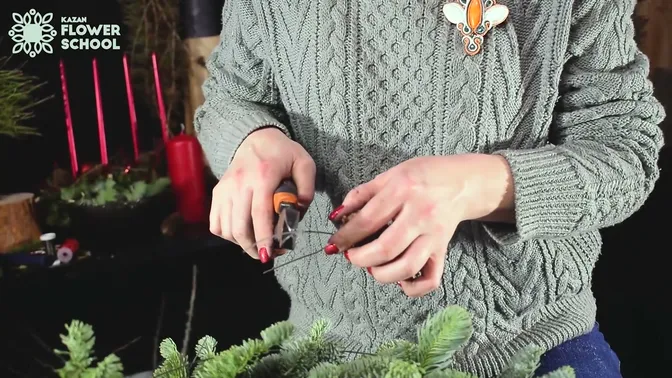
Wrap firm floristry wire around a cone, twist the ends together and trim the two legs to a similar length. In the classic wreath, the wire is about 1–1.2 mm thick and the legs are approximately 5–7 cm long. Lift the foliage and insert the legs into the hay base, so that the fixing sits underneath the branches.
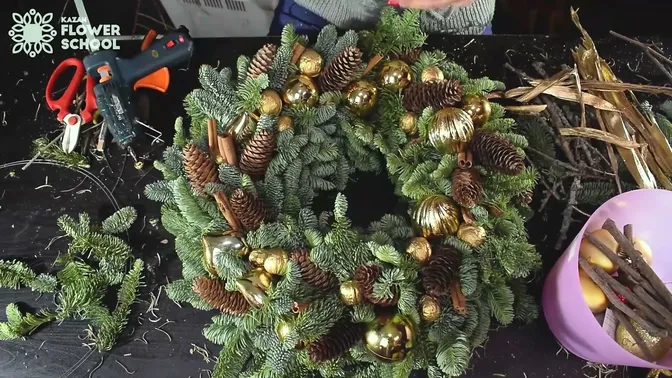
Place the cones in the same clockwise direction as the fir. If you add ornaments, use a suitable wire fixing at their neck; small nuts and cinnamon are glued into the foliage in this example. Position the details at different depths and leave some fir visible between them. A wreath becomes harder to read when every surface competes for attention.
The separate mixed-greenery wreath uses another palette: artificial decorative apples and berries with cinnamon, star anise and cones. Those red accents belong to that second wreath, not to the gold-decorated example in these photographs. Use its idea of a limited palette and varied sizes while keeping the two wreath designs distinct.
7. Check the hanging point and the finished shape
The classic example finishes with a folded 1.2 mm wire hook inserted through the back covering into the hay. The mixed-greenery version uses a related fitting from two wires with bent-back ends. Check the actual fixing and the surface where you intend to display your wreath before hanging it.
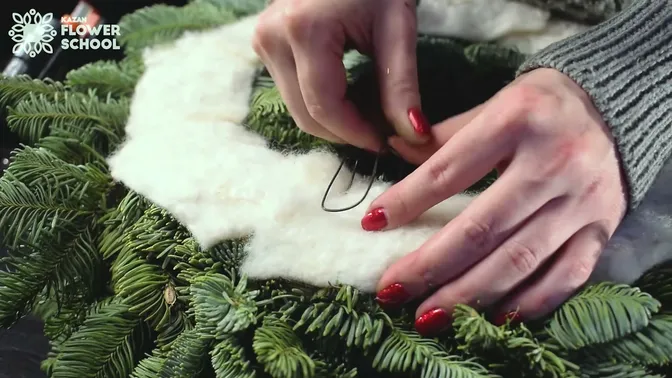
Turn the wreath upright and inspect the centre, outside edge and bottom. Look for exposed wire, loose cones, a visible join or decoration that hides the ring. For a simple version, keep only fir and cones. For a richer one, repeat a small set of warm accents and let the greenery remain the main material.

If you are making the hay base yourself
To make the hay base, start with loose hay. Form a long bundle, bind it tightly with continuous wire, curve it into a ring and add another layer if more thickness is needed. Go around again until the ring holds its shape under hand pressure. Trim projecting hay and tuck the final wire end inside. The frame needs to be narrower than the final wreath body because the greenery adds volume.
This bound wreath has no water reservoir. Display conditions and the greenery you use will affect how it changes. Check the branches and fixings as the wreath dries.
Choose your next wreath
Compare the evergreen and pinecone designs before choosing your materials.
Prefer a sculptural, cone-covered surface? Make the pinecone wreath.