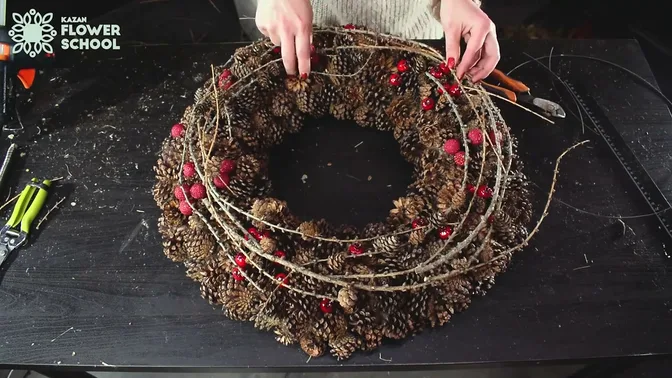
A pinecone wreath has a different character from a green fir wreath. Its structure comes from repeated scales, small shadows and the irregular shape of each cone. A few slender branches lift the surface and make the circle feel less rigid. The cones form the body of the design; the baubles and berries remain small accents.
This example starts with a firm hay ring. Each cone receives its own wire legs, which push into the base. Once the ring is covered, wool hides the remaining gaps and larch branches add a light, circular movement. The method lets you adjust individual cones instead of relying on a thick bed of glue.
What to prepare
Gather a firm hay wreath base, pinecones in a useful range of widths, firm floristry wire and wire cutters. You will also need small pieces of felting wool to conceal the hay, a hot-glue gun, a few small decorative baubles and berries, and slender larch branches with their cones.
The base in this example is 50 cm across. The maker estimates about 120–130 pinecones for that particular ring. Treat this as a planning reference: cone size, the thickness of your base and the spacing you choose will change the quantity. Lay out a sample area before preparing every cone.
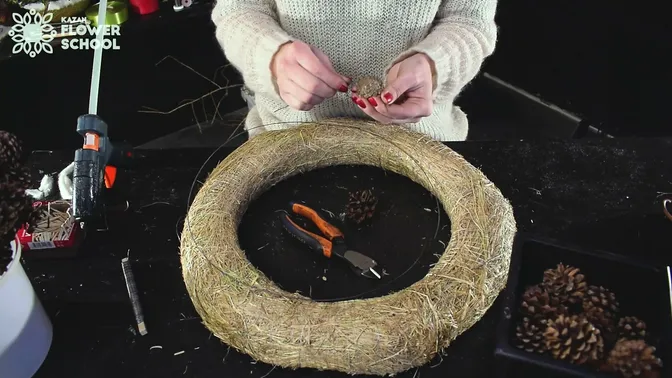
The wire will be cut and inserted into the base repeatedly. Keep the loose pieces together, use wire cutters and keep sharp ends away from the visible surface. Take care with the hot-glue gun when you reach the smaller decorations.
1. Make a wire fixing for each cone
Cut a piece of wire and wrap it around the lower part of a cone, where the scales can retain it. Bring the ends together and twist them. Leave two legs that can enter the hay base. Trim those legs to a similar length so that you can place the cone evenly.
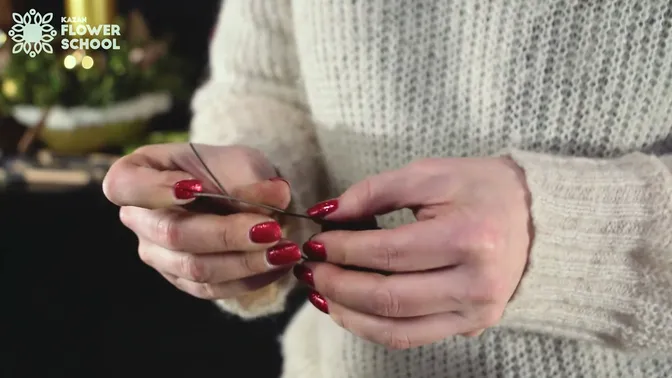
Start with a narrower cone while you get used to the motion. Set a very broad cone aside and use a narrower one first. Prepare a batch before covering the ring; stopping for a new fixing at every placement makes it harder to maintain a steady rhythm.
2. Insert the cones closely into the hay
Push both wire legs into the base and seat the cone firmly. Place the next cone close beside it. Turn each cone slightly if that helps its shape fit its neighbours. Continue around the ring, covering the visible hay without crushing the natural texture into one flat surface.
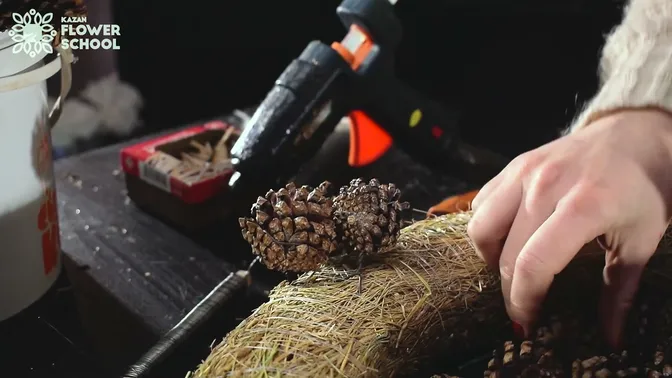
Check the inner edge as well as the outside. A clean centre opening helps the finished piece read as a wreath. Do not depend on the final decorations to correct a large gap or an uneven outline; adjust the cone placement while you can still reach its fixing.
3. Hide the gaps with small pieces of wool
Once the cones cover the base, look between them for exposed hay. Tear the wool into small pieces and tuck it beneath the cones. The aim is to conceal the gaps, rather than wrap every cone in a new layer.
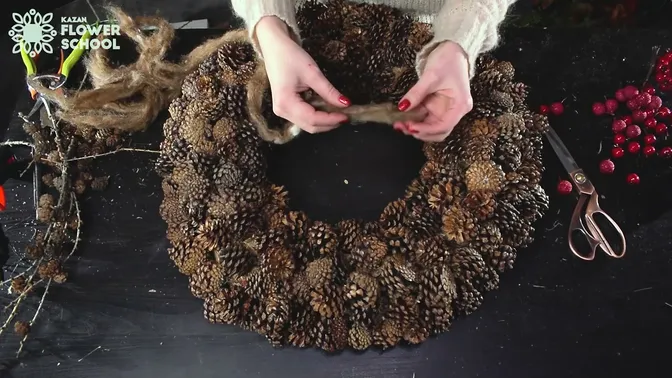
Work around the whole ring and look from a lower angle as well as from above. A gap that disappears in an overhead view can still show when the wreath stands upright. Keep the wool below the upper edges of the cones so the scale texture remains clear.
4. Add a small amount of colour
Add a few small baubles and decorative berries with hot glue. Keep them secondary to the cones. Repeat the accents around the ring so that a single bright cluster does not pull the eye away from the overall circle.
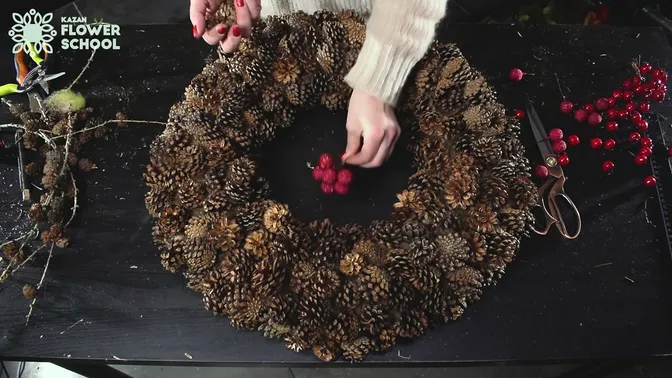
You can leave the colour out for a quieter version. That variation uses the same construction: the photographed example includes the small decorations. Let your chosen finish guide how much contrast you add, while keeping the cone-covered surface readable.
5. Lay out the larch branches before fixing them
Place the slender larch branches over the surface and try their direction before securing them. Their lines should follow and underline the circle. A branch that cuts across the centre will change the outline much more than a small berry or bauble.
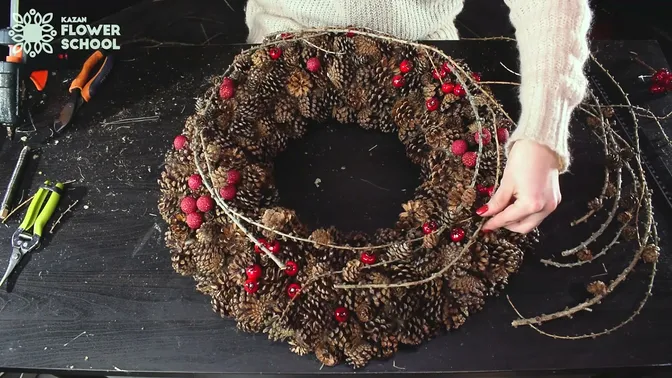
Make U-shaped pins from firm wire. Find a gap between cones where the pin can reach the base, and secure the branch close to a cone so the fixing attracts less attention. Do not force a pin through an ornament. Add another fixing where needed, then continue with the remaining branches.
6. Choose its position and make the final checks
The finished wreath can be displayed on a table or on a wall. For a wall display, add a hanging fitting suited to the finished wreath and check it before putting the wreath in place. Do not assume the wire legs on the cones are a hanging system.
Set the wreath in its intended position and inspect it from the angle in which it will be seen. Check for moving cones, projecting wire, visible hay and branches that wobble. Adjust the wool where necessary and keep the centre open. The result should feel like one textured circle with lighter lines moving over it.

Choose the wreath that suits your space
See how pinecones, fresh fir and open twig frames change the character of a Christmas wreath.
For a softer, greener ring, follow the fresh evergreen wreath guide.