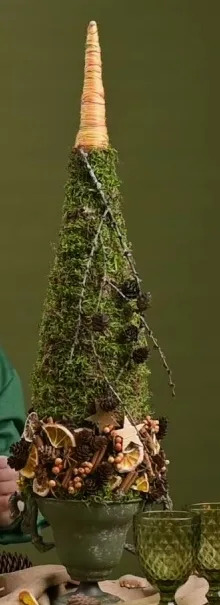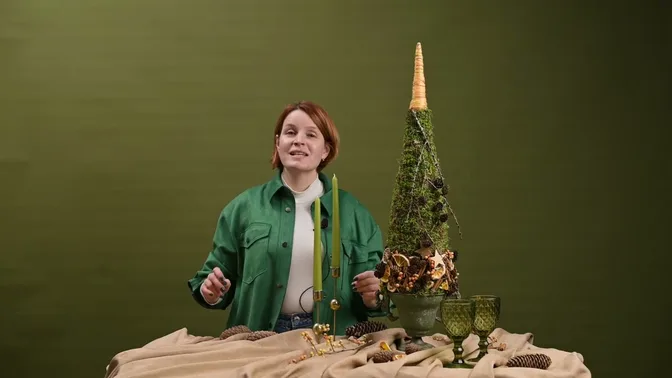
A moss tree offers a quiet green surface for warm, textured decoration. Dried orange slices, cinnamon and small cones sit against that surface without disappearing into needles. In this design, most of the decoration stays low, while a slender wrapped point leaves the upper shape calm and clear.
The structure is a rigid polystyrene cone covered with moss. A short wire extension gives the tip its fine shape; a separate polystyrene insert anchors the body in a footed pot. That makes this a different construction from a greenery tree bound around a plaster-supported rod.
Gather the core, covering and decoration
Prepare a ready-made polystyrene cone, or a suitable thick block from which to cut one. This tree uses a 10 cm-thick piece of polystyrene for the core. Set out a footed pot, a separate piece of polystyrene to fit inside it, stiff, hardened wire, floral tape, masking tape, double-sided tape, fine bullion wire, yarn, a hot-glue gun, scissors, wire cutters and a craft knife if you are shaping the core.
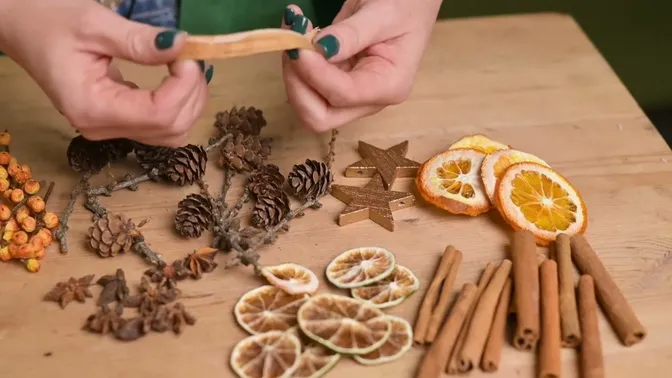
For the surface, gather enough moss to cover the whole cone. The example uses natural moss; preserved moss is mentioned as an alternative. For the finish, prepare dried orange and lime slices, cinnamon sticks, larch cones on small branches, star anise, berry sprigs and wooden stars.
Choose the outline with the pot in view. The maker uses a cone about three times the pot height and adds a short wire point. Those proportions describe this example; a different pot or cone needs its own visual check.
1. Extend the cone into a slender point
Insert several short pieces of firm wire around the upper edge of the cone. In the example, the maker cuts the wires in half and uses the shorter pieces to form an extension of roughly 10 cm. Keep the wires close enough to the outer edge for a smooth transition from the cone, then bring their upper ends together into a fine point.
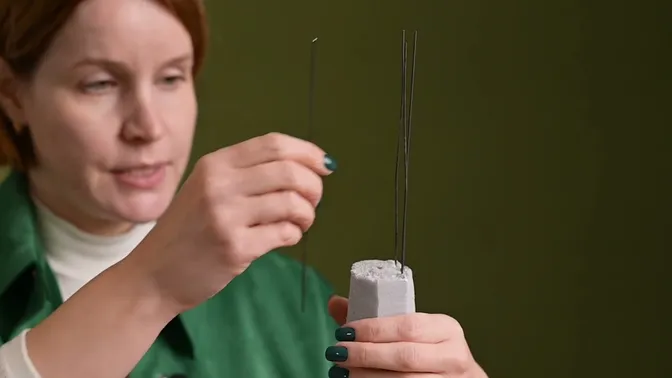
Join the wires with floral tape and cover them neatly with masking tape. Avoid a lumpy bundle: the tape provides the surface that the yarn will wrap. Check the line before you conceal it, because the upper silhouette will remain visible in the finished tree.
2. Wrap the point in yarn
Take four strands of yarn together to build the texture more quickly. Fix their ends near the point with a small drop of glue, then wrap downward, covering those ends as you go. Keep the turns close enough to hide the tape beneath them.
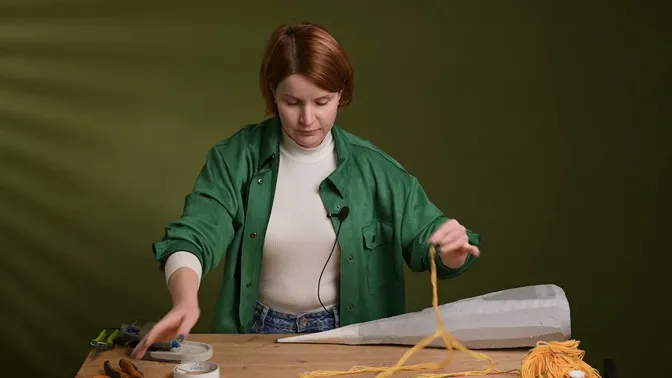
Continue a few turns onto the polystyrene after the wire extension ends. This joins the wrapped point visually to the cone body. The yarn on this tree is yellow, with hints of orange and green.
3. Clean and sort the moss
Turn the moss over and remove loose soil, roots and unwanted material from its underside. Trim the lower layer where needed, keeping the green surface. Pick out fallen leaves and needles from the top so they do not become part of the finished covering.
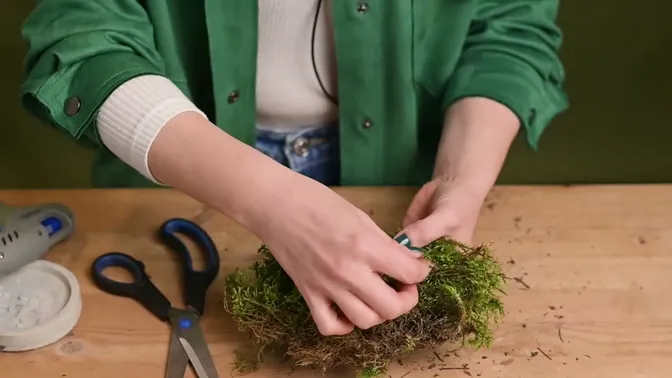
Work over a surface that is easy to clear. Prepare a few pieces at a time and compare their thickness; thick clumps will need more control than flatter sheets. The aim is a continuous covering that follows the cone, rather than a new irregular shape built over it.
4. Bind the moss from the upper body downward
Place strips of double-sided tape over the cone to reduce slipping while you work. Expose the adhesive in sections, rather than removing every backing at once. The wrapped point stays visible above the green surface.
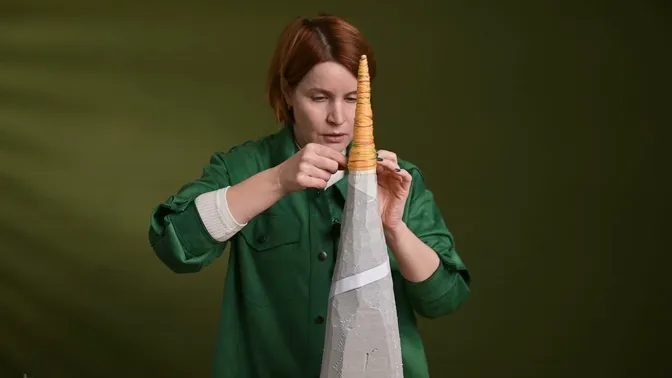
Lay moss closely around the upper body and secure it with several turns of fine bullion wire. Continue downward in sections, overlapping the moss where needed and varying the direction of the wraps. Add a small piece immediately if the white core shows through.
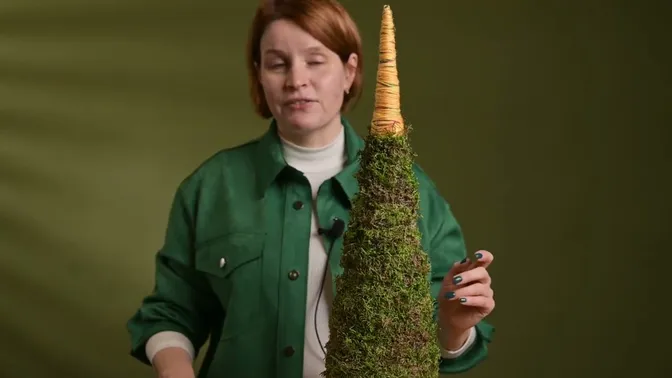
Trim untidy projecting pieces and look for thin patches. Small gaps can be filled with moss and a discreet fixing. The assembled moss makes a decorative covering.
5. Anchor the cone in the pot
Fit a separate polystyrene plug inside the pot, close to the rim, and glue it in place where needed. Cut short pieces of firm wire for the connection between this plug and the cone. The example uses about five pieces, each approximately 5–6 cm long.
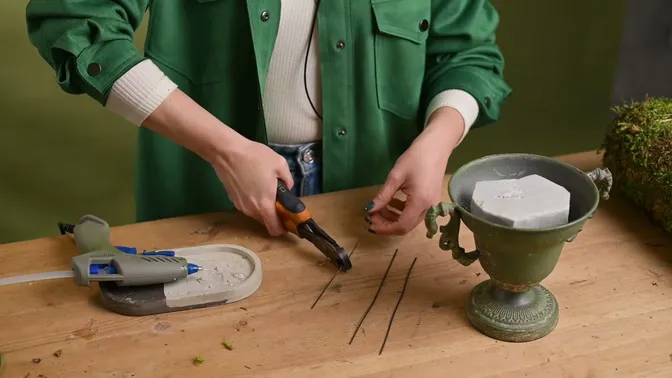
Insert the wires into the plug with glue. Add glue to the projecting wires and lower the cone onto them, keeping it upright. Look from more than one side before the connection is fixed. Check the finished piece for movement before placing it in its display position.
6. Keep the decorative band low
Lay out the larger citrus pieces first. In the example, the decoration occupies roughly the lower quarter of the tree body. The point is to keep a generous area of green moss above it and avoid making the decorated band visually equal to the pot below.
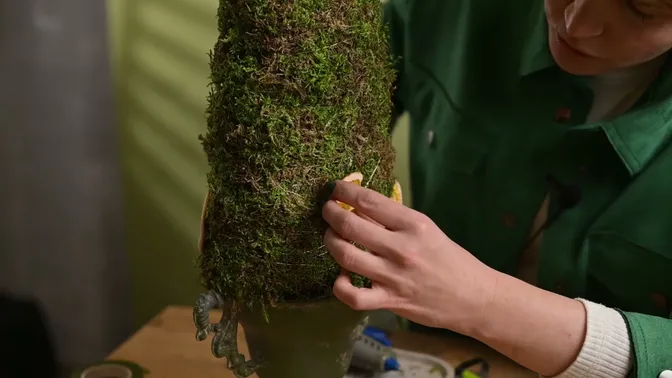
Glue some orange slices whole and others cut in half, changing their angles rather than repeating one rigid row. Add whole or shortened cinnamon sticks. Place the larch cones with their small twigs attached, using the twig-and-cone connection as the gluing point.
Work around the front, back and sides. Secure berry sprigs with a small U-shaped wire pin and glue. Add star anise and other small details between the larger forms, keeping the upper moss surface open.
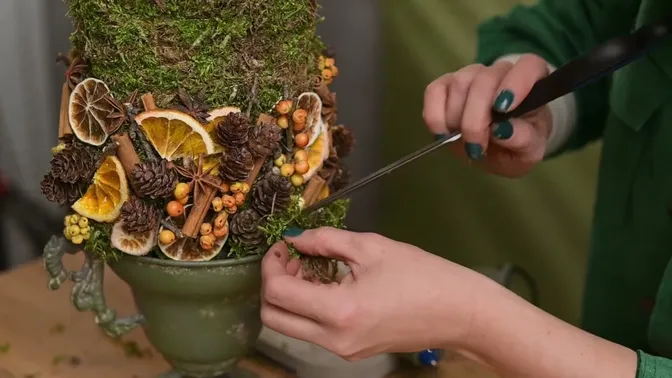
7. Conceal the supports and add the final accents
Cover the visible pot insert and exposed fixings with moss. Place two wooden stars together as a focal point in the lower decoration. A final branch with cones extends the movement; the maker secures it at two points with skewers so it does not depend on one small attachment.
Check the tree upright from each side. Conceal any visible white core, trim loose moss and inspect the pot connection. Place it where the fine point and projecting branch have enough clear space. Keep the candles around this display unlit.
See how a moss surface compares with fresh greenery and open frames.
For a fuller, branching silhouette, make the potted greenery Christmas tree.