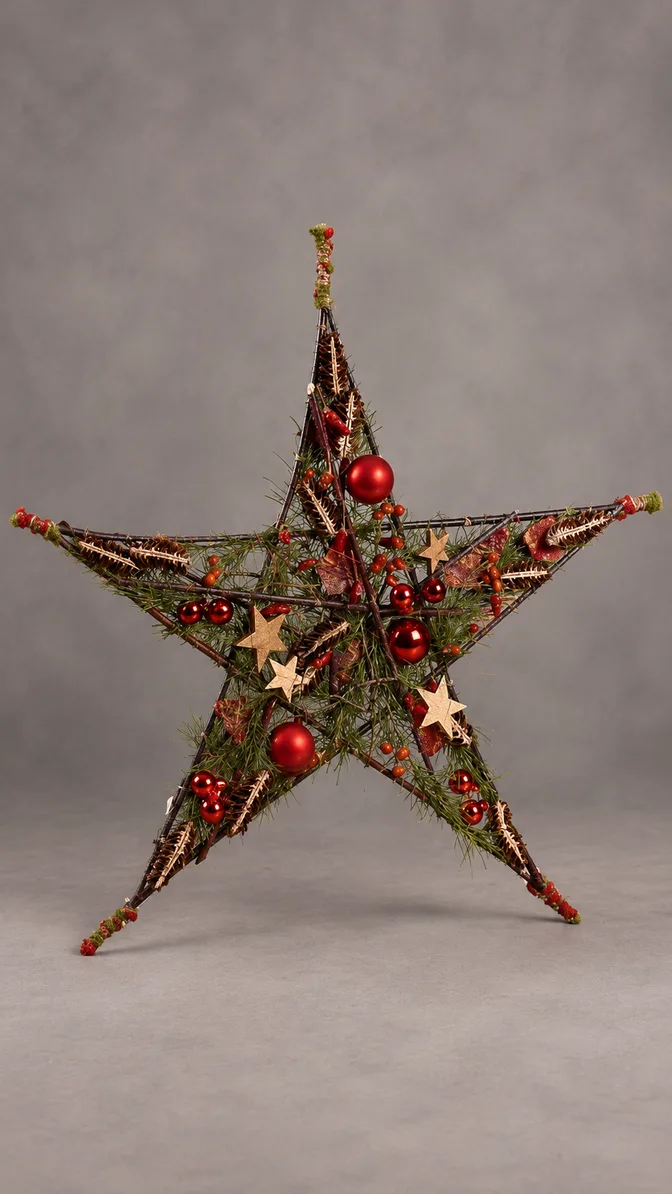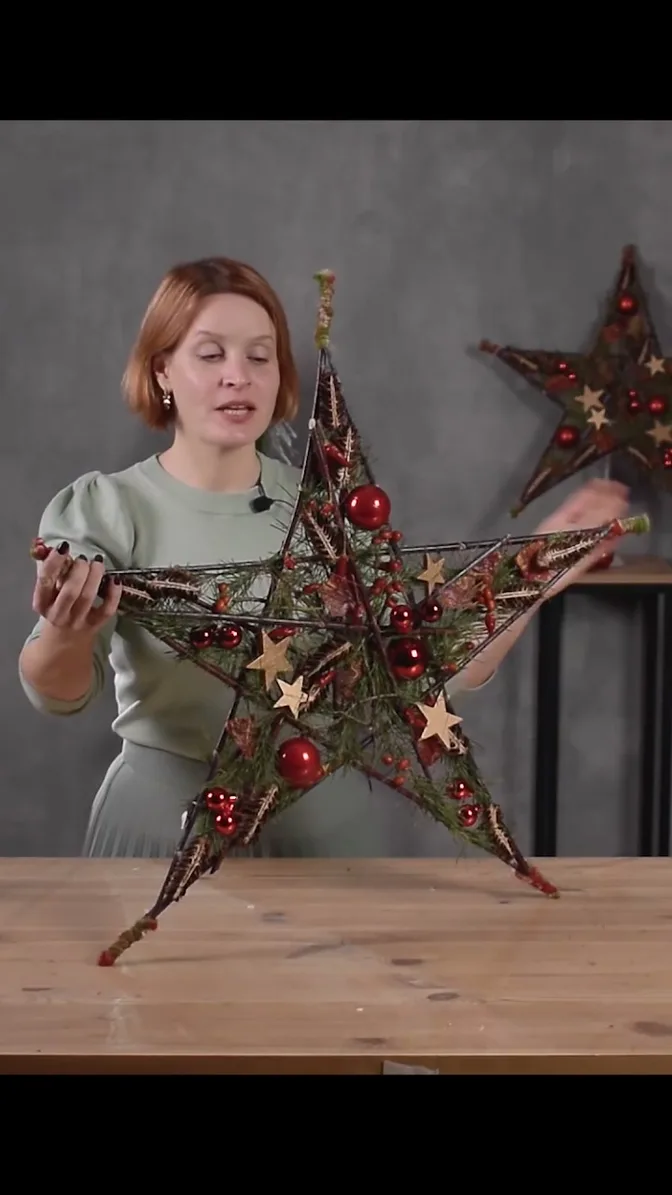
A twig star gives Christmas greenery a clear shape without hiding the branches that hold it together. The open frame makes this a light-looking wall decoration: pine fills the spaces, red ornaments sit within the outline and small wrapped tips finish the five points.
Begin with the star itself. Its shape needs to read clearly before greenery or baubles go on. Five strong branches establish the outline; extra short branches inside each point give you places to attach the decoration. The photographed version keeps the natural wood visible throughout.
Gather the frame and decoration materials
Set out five substantial twigs, extra branches for the internal supports, binding wire, fine decorative wire, pliers, wire cutters and secateurs. Choose branches stiff enough to hold the intended shape rather than bending as you tighten a joint. You will also need pine greenery and a glue gun for the decorative details shown.
The red-and-natural finish uses baubles in two sizes, cones, red berry sprigs, dried chilli garlands and small wooden stars. Felt wraps the tips; wool yarn or twine can replace it. A few small fir sprigs can be threaded onto fine wire for a separate, slender garland. Prepare these smaller materials after the main frame is secure.
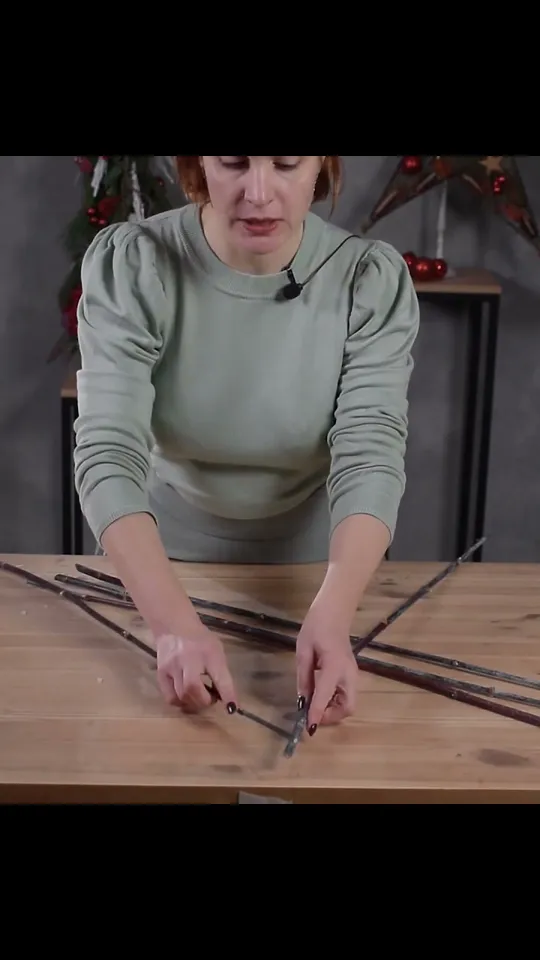
1. Arrange five branches into a clear star
Lay the five branches on the table in a five-pointed star. Where possible, bring a thicker branch end together with the thinner end of another branch. Thread some branches over and under their neighbours as you arrange them, rather than leaving every crossing stacked in the same way.
Look at the natural curve of each twig. Turn it until the point looks straight and deliberate. The maker leaves short ends extending beyond the outer points for later wrapping. Keep those extensions consistent enough that they feel like part of the design.
2. Bind the outer points and inner crossings
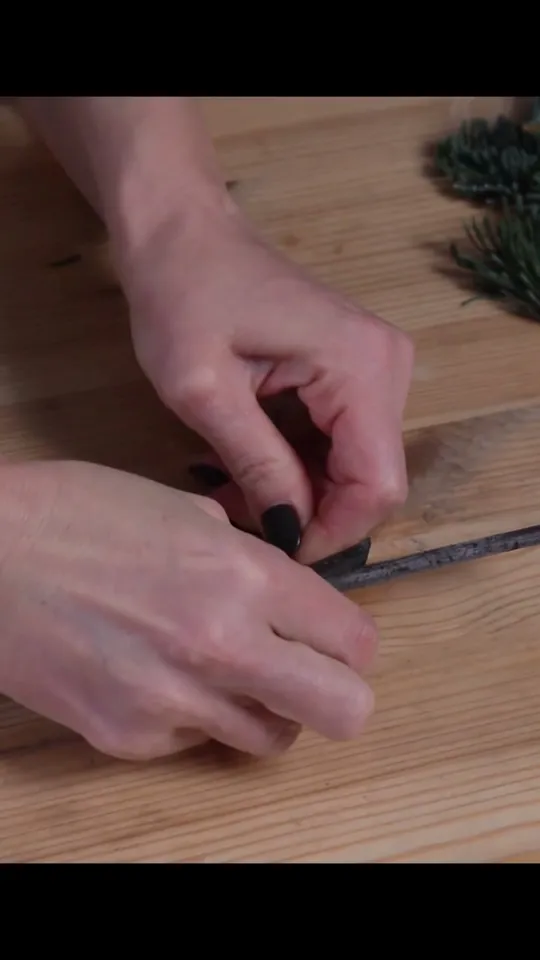
At an outer point, pass wire under both branches, wrap it around them and draw it tight. Bring the ends together with pliers and twist to secure the joint. Bind each of the five outer points before moving on to the five inner crossings.
At an inner crossing, lay the wire across the upper twig. Take one end around the lower twig from one side and the other end around it from the other side. Bring both ends back up, pull tight and twist them together. Keep the fixing compact, trim the excess and bend the remaining wire end against a branch.
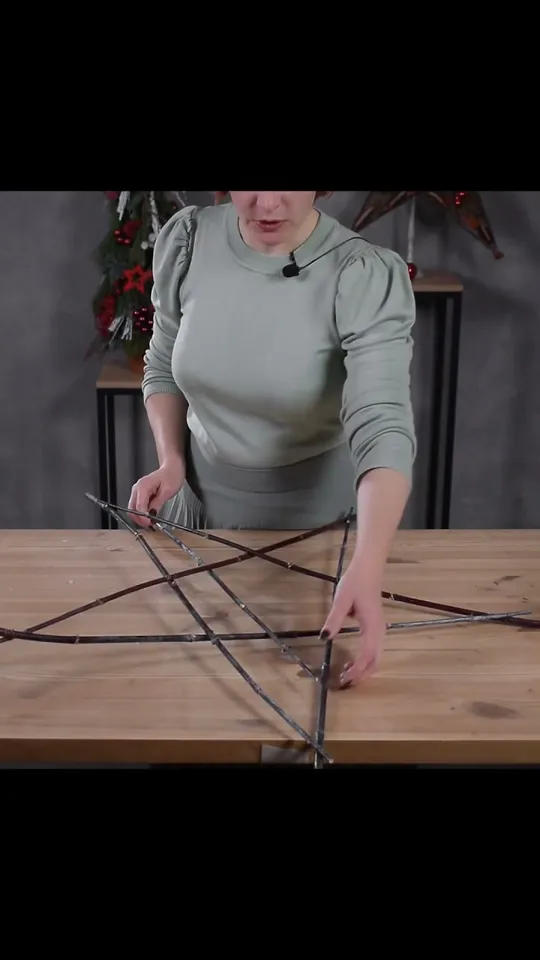
3. Add supports inside every point
Lay shorter branches inside the frame so that each point has somewhere to hold greenery and small ornaments. Position them above and below the main branches as you test the fit. Wire them in place without building bulky coils at each joint.
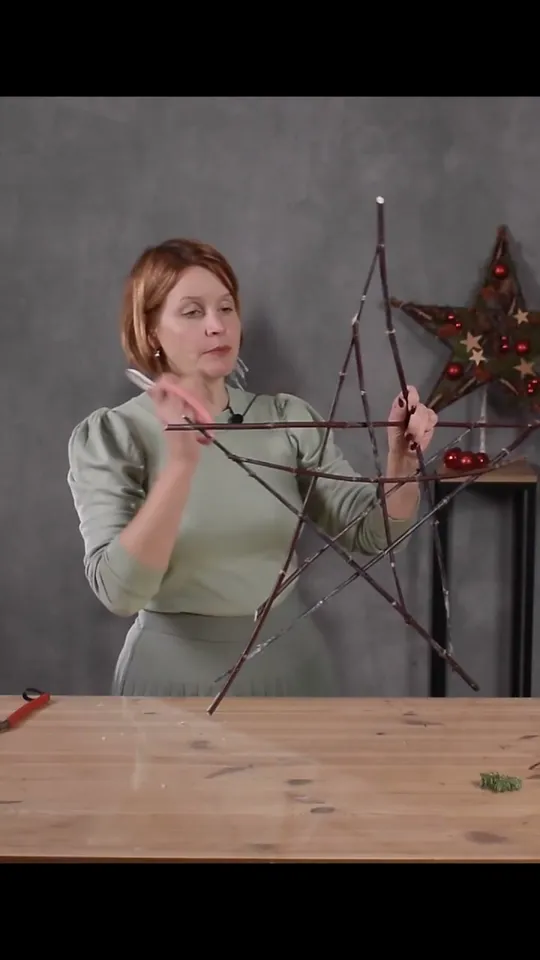
Fit at least one short support inside each point of this star, then add more where needed for the smaller decoration. Let your chosen materials guide the amount of support. Trim off branches that interrupt the star outline. The maker cuts the internal ends on a slant and the outer tips square, giving the two kinds of ends a different, orderly finish.
4. Fill the frame with pine without losing its outline
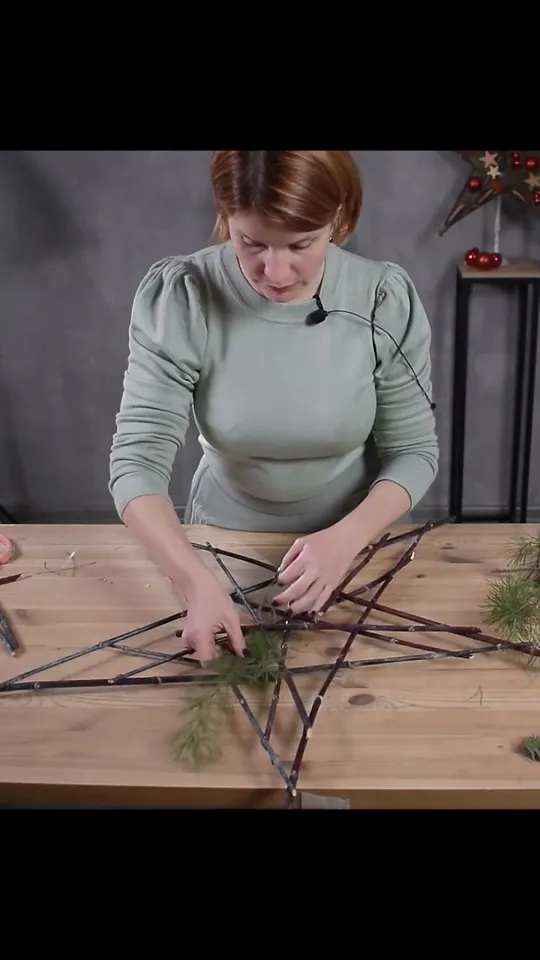
Pass pine sprigs through the twig framework. Distribute them across the star rather than filling only the centre. Wire the ends where they need extra fixing. Keep turning back to the outline: the greenery should support the star shape, with the five points still easy to see.
Use the branches inside the points as attachment places. If a long pine tip runs beyond the intended edge, reposition or shorten it. This project gives priority to the frame shape, so the decoration also needs to stay within that boundary.
5. Prepare small garlands and wired baubles
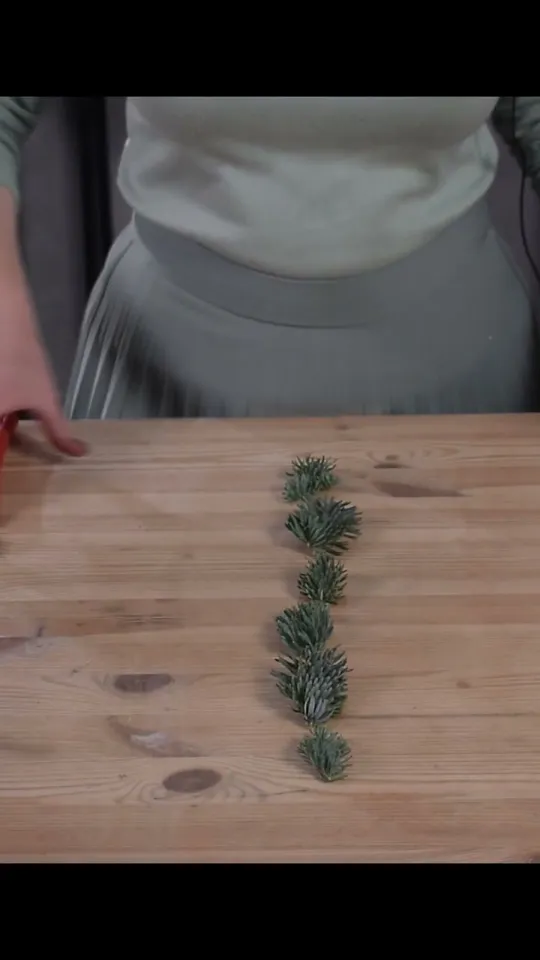
For a fir garland, use a longer piece of fine decorative wire. Catch a small sprig near its middle, passing between the needles, and twist the wire to hold it. Add the next piece along the same wire. Trim or fully secure loose wire ends. The same spaced-garland idea can carry dried chillies or other small decorations.
For a bauble with a suitable neck, remove the hanging cap and wrap wire firmly around the neck. Leave two ends for tying it to the twig frame. Prepare the larger baubles first, then the smaller ones, so you can arrange their groups without stopping to make each fixing.
6. Place the red groups and textured details
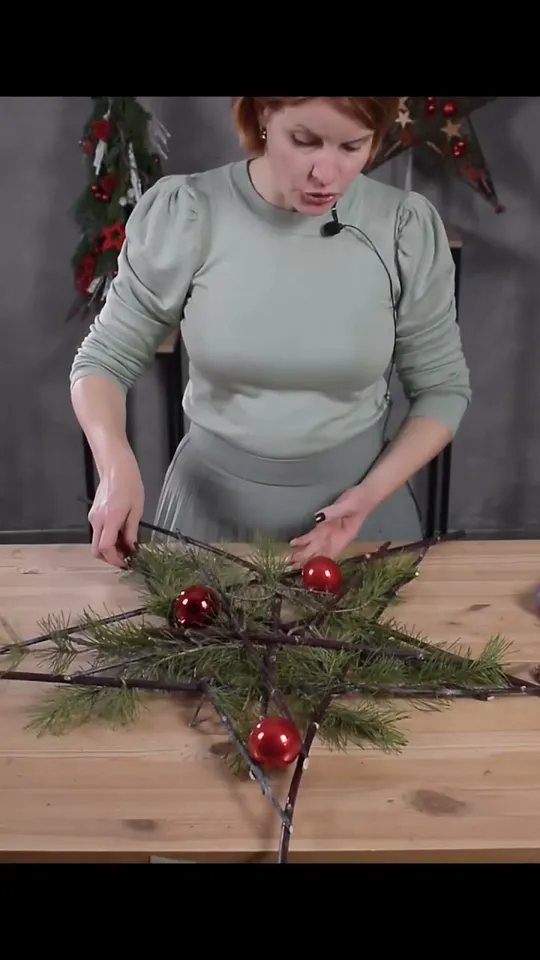
Place the larger red baubles between the branches, slightly sunk into the star rather than perched above it. Attach them firmly with wire. Arrange small baubles in pairs or threes; a small group beside a larger bauble makes a stronger focal area than equal spacing everywhere.
Glue cones near the points to emphasize their shape, then add the chilli garlands. Lengthwise-cut cones offer another textural variation, but whole cones provide a straightforward way to work with that texture. Keep checking that the frame still reads as one clear star.
7. Add the final wire layer and wrap the tips
Anchor fine decorative wire to one point and take it across the greenery and decoration, working around every point. Leave space between the wraps. This layer adds a little shine and also catches the cones, garlands and greenery. Inspect the back as you go so loose pine ends do not escape the fixing.
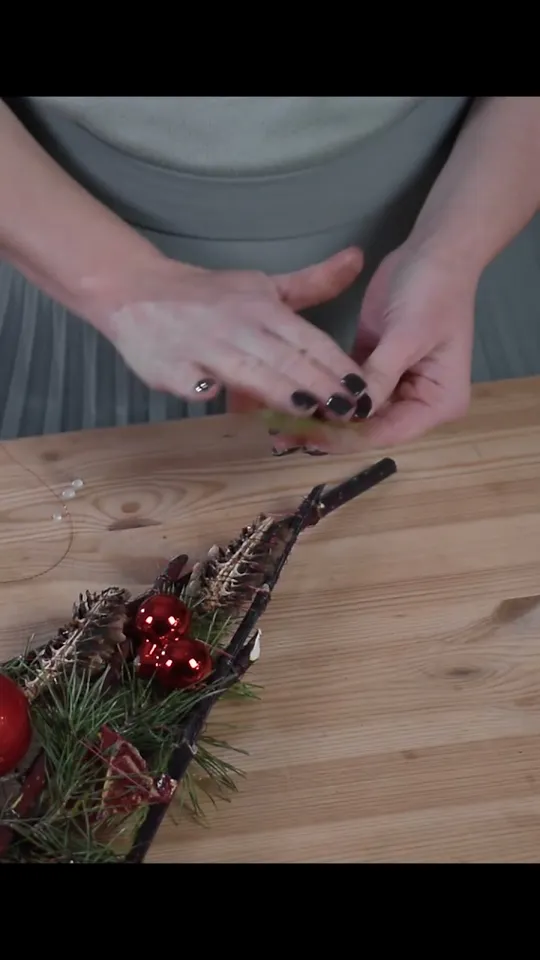
Wrap felt around the projecting tips and hold it with the fine wire. Wool yarn or twine in a colour that suits the star is another option. Add wooden stars in unequal groups, with a small and a large star together, then tuck red berry sprigs through the wire layer where they add a different texture.
Check the shape before choosing the wall position
Lift the finished star and look at it from the front and back. Adjust any bauble or branch that hides a point or falls outside the outline. Check the twig joints, trim or turn in exposed wire ends and make sure every decorative element has a sound attachment.
Choose the wall position and suspension for the actual finished weight and wall surface. Once displayed, the five points, visible branches and red groups should remain clear from the normal viewing distance.
Choose greenery by its texture and by the form you want to build.
Compare another complete circular wall decoration in the Christmas wreath guide.