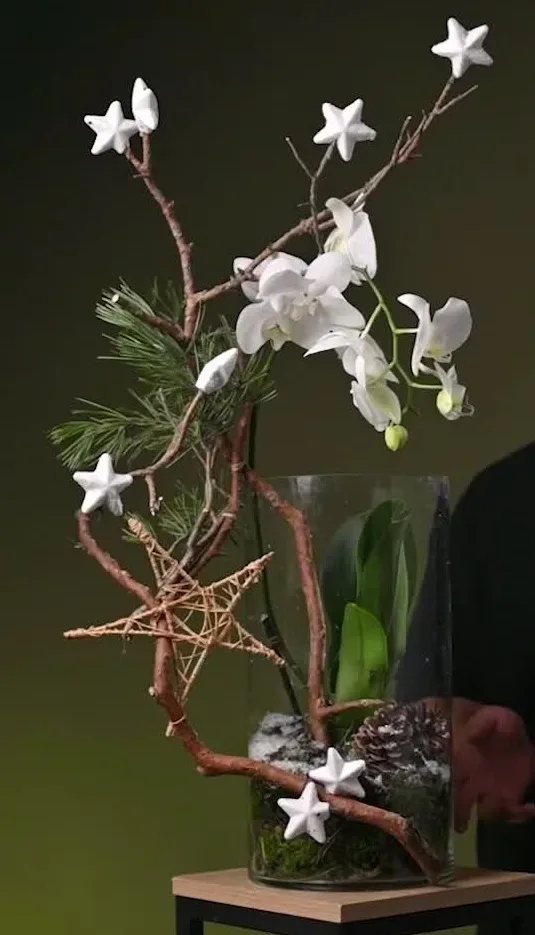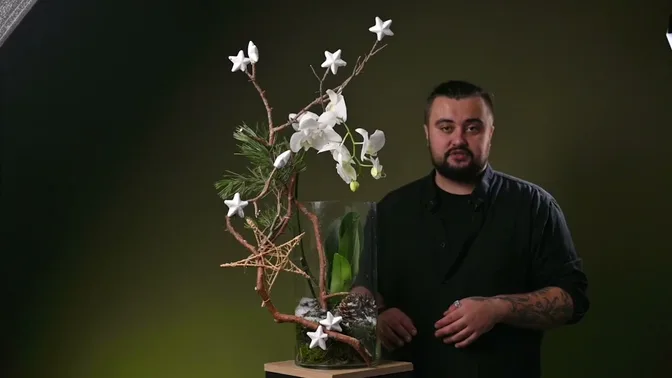
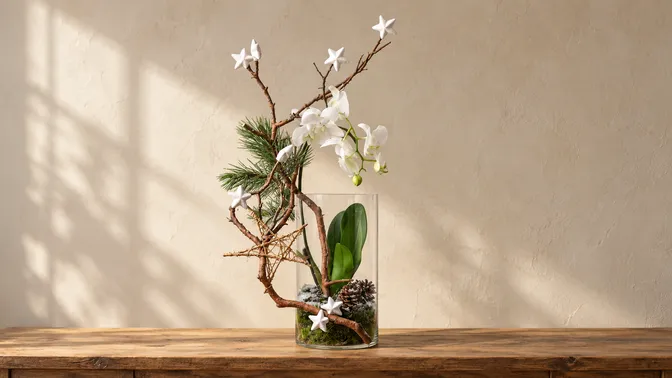
White orchid flowers arch above a tall glass vase. Below them, twisting pine branches frame a green base of moss, with pinecones and small white stars tucked among the wood. A larger open star hangs in front of the glass. The colors are restrained, but the shape reaches well beyond the vase.
This winter display starts with a potted Phalaenopsis, also called a moth orchid. The plant stays in its own pot. Moss hides the plastic from view, while two pieces of pine driftwood give the flower stem a companion line. Make it as a flowering gift or a piece for your own home, with enough room around it to see the outward curve of the branches.
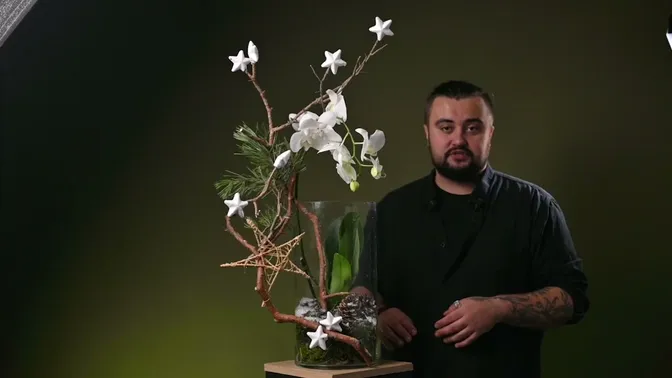
Gather the plant, glass and winter details
Choose the vase and plant together. The pot needs to fit inside, with space for the inner branch and the moss around it. Check that you can lower the pot into the vessel and lift it out again without pulling on the leaves or roots. A narrow opening can make an otherwise generous vase awkward to use.
For this version, gather:
- A white Phalaenopsis in its own pot and a tall glass vase.
- Two curved pieces of pine driftwood.
- Moss to cover the visible sides of the inner pot.
- Pinecones and a small pine sprig.
- Small white decorative stars and a little artificial snow.
- Paper-covered wire and five wooden skewers for the larger star.
- Pruning shears, scissors, wire cutters and a hot-glue gun for the decorative joins.
The skewers in this star are 20 cm long. Treat that as the size of this particular example. Before choosing yours, compare the proposed star with your vase and the spread of the flowers.
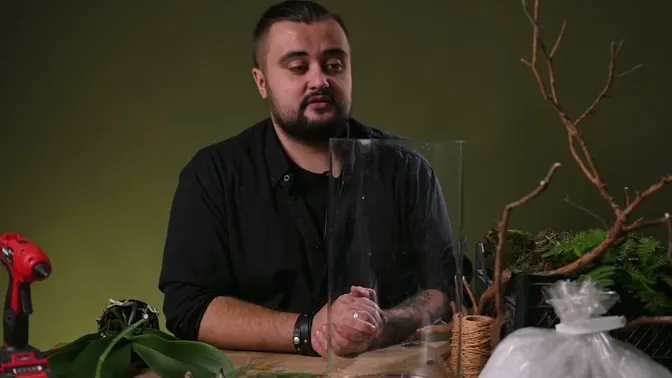
Place one branch inside and one outside
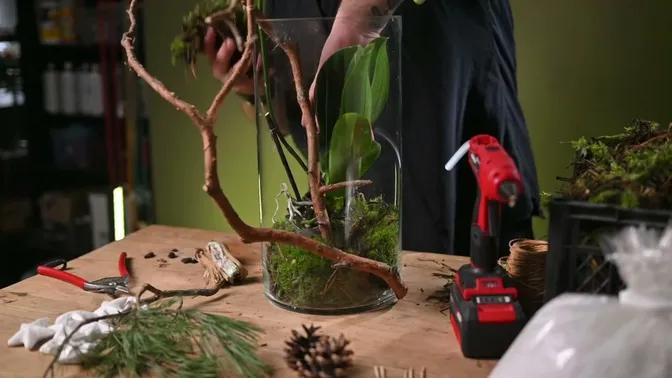
Start with the empty vase on a steady work surface. Set the straighter piece of driftwood inside it. Try the more curved piece outside, so that part of its line extends beyond the glass. Turn the branches until their curves relate to each other.
Allow room beside the inner branch for the orchid pot. The flower stem will be tied to this branch later. Briefly try the plant in place, then take it out while you make the branch joins. This is the moment to move a piece of wood that blocks the pot or crosses directly in front of the flowers.
Look at the silhouette from the side as well as the front. The outer branch gives the work width; the inner branch carries the eye up toward the orchid. Leave some open space between the wood and the glass so that the separate lines remain visible.
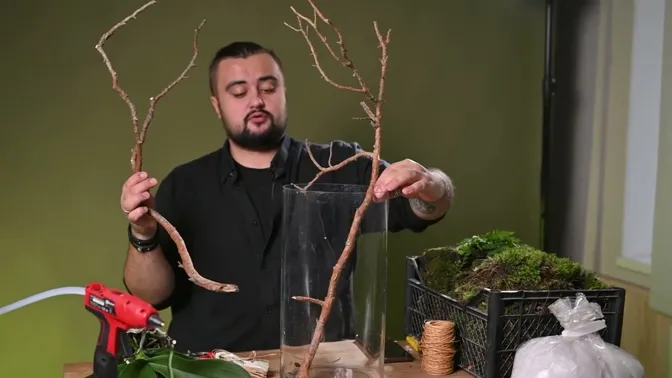
Bind the wood before adding the plant
Join the two branches with paper-covered wire where they meet. Pull the binding snug around the wood, then return the joined branches to the vase and check the space for the pot again.
In this construction, a small spot of hot glue also holds the outer branch against the glass. Keep this join between the decorative wood and the vessel. Glue does not attach the orchid. Let the glue set before continuing, and check that the branches retain the position you chose.
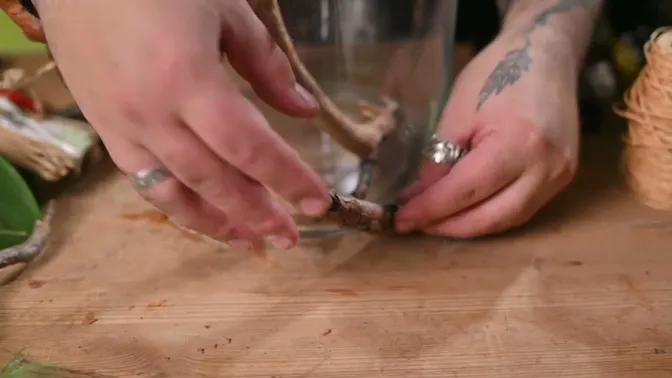
Build a green screen around the pot
Sort through the moss and remove loose debris. Begin at the bottom of the vase, turning the green surface toward the glass. Work around the sides to form a visible green layer where the plastic pot would otherwise show.
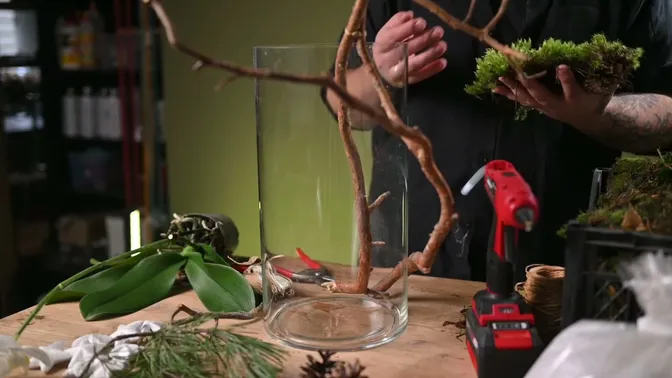
Add the moss in stages, checking the outside of the vase as you go. A small gap against the glass can be easier to spot from the front than from above. Keep the middle open for the orchid pot.
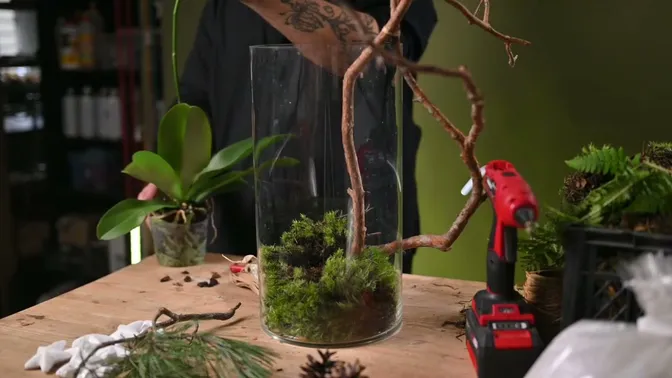
Set the orchid and support the flower stem
Lower the potted orchid into the middle of the vase. Rotate it until the flowers sit clearly beside the branches. Bring the flower stem toward the inner piece of wood and secure it with paper-covered wire. Keep the tie loose enough to avoid pinching the stem, and follow its existing curve rather than forcing a new bend.
Add moss around the visible plastic, working from the outside view. Keep the aerial roots uncovered. The flowers should remain easy to see above the glass, with the leaves visible below them.
Repeat the white flowers in the decorations
Place pinecones at the base. Here, they echo the pine wood already used for the branches. Add a little artificial snow to the decorative base, keeping it off the orchid's flowers and leaves.
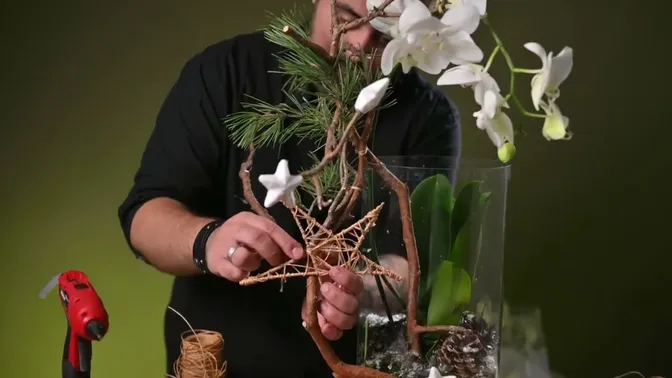
Attach the small white stars to the woody twigs with a small amount of hot glue. Distribute them at different heights: a few near the base and others along the upper branches. Their white surfaces draw the eye back to the orchid flowers.
Use paper-covered wire to attach the small pine sprig to the driftwood in two places. Angle it into the branch structure, with the needles beside the flowers rather than across them. Step back before adding anything else. The glass, wood and orchid already make a strong outline.
Make an open star from five skewers
Wrap each wooden skewer with paper-covered wire. Let some wood remain visible between the turns. Its pale surface belongs with the other natural materials in the display.
Lay two skewers in an upside-down V, meeting at the top point. From the lower right end, run a third skewer diagonally to an upper left point below the top. Add the fourth across to an upper right point, then run the fifth diagonally down to the lower left end. The five crossing sticks now form a star, with two ends meeting at each outer tip.
Adjust the outline before binding the tips with the same wire. Wrap a short length of about 1.5–2 cm at each join in this example, and tuck the cut wire ends between the skewers. Work around the shape until the five-pointed outline holds together.
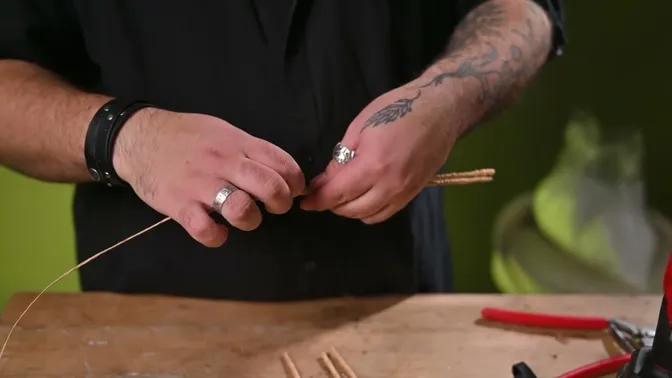
Fasten a length of wire to one skewer and pass it across the open center in irregular lines. Catch it around the frame as you go. Leave spaces between the strands so that the star stays open and the branches remain visible behind it.
Try the star against the driftwood before fixing it. In this arrangement it sits below the flowers, in front of the glass. Attach it to the branches in two places with paper-covered wire.
Keep the orchid accessible
Make the surrounding decoration easy to undo. Check that you can release the flower-stem tie and lift out the inner pot for watering. If a branch blocks that movement, adjust it before finishing the display.
Let excess water drain from the inner pot before returning it to the glass. Keep the plant out of standing water and avoid getting water into the center of the leaves. For positioning, choose bright winter light away from heaters and drafts. Keep aerial roots uncovered.
Finish the view and choose the scale
Wipe the glass and check for visible glue or loose wire ends. Look at the display from the height at which it will be seen. The orchid should lead the arrangement, with the larger star and outer branch extending its shape.
For a smaller gift, choose a smaller Phalaenopsis first, then try it with a narrower vessel and lighter branches. Size the star alongside the plant. A short plant in a large cylinder needs a different arrangement of lines from a tall orchid; simply adding more decorations will not resolve the proportions.
If you give the finished work as a gift, show the recipient how to release the tie and remove the pot. That small demonstration makes the decorative structure easier to live with.