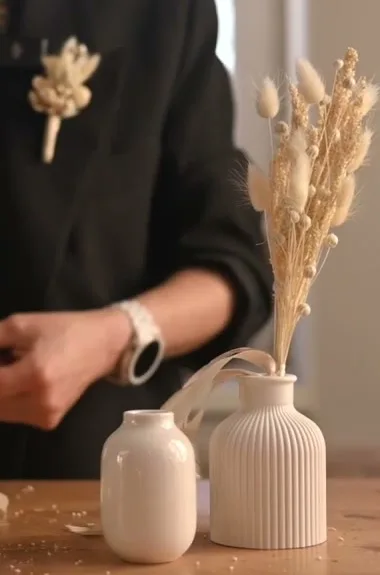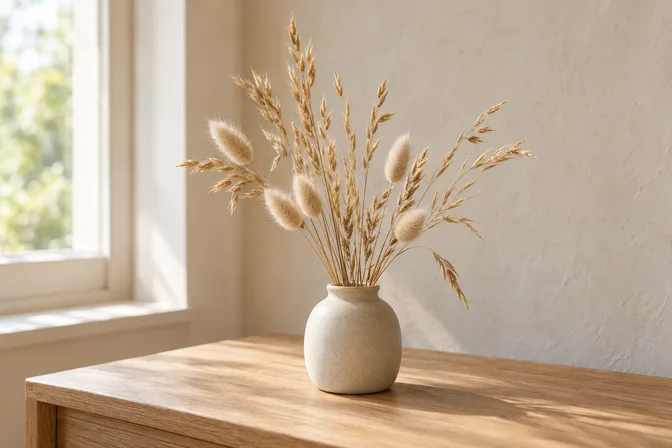
A small dried flower arrangement starts with a narrow opening and a few contrasting textures. Gather upright dried grasses and soft bunny tails in similar shades. Build a small bunch in your hand, set the flower heads at different heights, then tie and trim the stems to fit a ceramic pot. Leave the outline open enough to see individual heads.
Dried grasses and bunny tails in a small ceramic pot.
Use a small vessel whose shape you would like to keep visible beneath the flowers. Start with a handful of stems and keep the rest beside you. You can add more after seeing what the opening and the outline will comfortably hold.
Choose the pot before cutting the stems
For this arrangement, use a ceramic pot about 8–12 cm tall, roughly 3–5 inches, with a narrow neck. A plain finish lets the different dried textures show clearly. The narrow opening gathers the lower stems while the heads spread above the rim.
A small pot does not require every stem to be short. The upright grasses can rise well above it, with softer heads lower in the bunch. Hold the actual pot beside the stems to check how much of each stem will sit inside and how much will remain visible.
Set out the materials before starting:
- straight dried grasses, including three stems to establish the height;
- bunny tails, also called lagurus;
- a small ceramic pot;
- scissors or pruning snips;
- narrow ribbon or jute twine.
Keep the palette close, perhaps different shades of wheat and cream. The grasses supply fine upright lines and bunny tails add soft oval heads. Start with these two textures; you can try fine branching stems later as a variation of your own.
Prepare a clean lower bundle
Separate the stems gently from their bunches. Remove leaves from the lower sections that will sit in your hand, under the tie and inside the pot. These clean stems should gather into a neat bundle.
Hold the lower stems while handling the material, leaving the heads free.
Save the final trim until you have arranged the bunch and checked its position against the pot. A stem that looks long on the table may need that extra length to reach into the vessel.
Build the arrangement in your hand
Establish the tallest lines
Take three upright grass stems in one hand. Choose a comfortable holding point on the lower stems; this will also be the place for the tie. Keep that point while adding the other materials.
Hold the pot beside the bunch and picture where the rim will sit. Let the grasses extend clearly above the little vessel. Raise or lower them in your hand until the pot and the exposed stems look balanced together. Avoid cutting at this stage.
The depth of your pot and the length of the heads both affect what will be visible above the rim.
Add bunny tails in uneven pairs
Place two bunny-tail stems together with one head slightly higher than the other. Add another pair in a different part of the bunch. This small height change helps each oval remain visible instead of merging into an even band.
Look around the bunch as you work. Leave some space for the grasses to show through. The soft heads do not need to cover the whole surface.
Decide when the bunch has enough material
Hold the arrangement away from your body and compare it with the pot again. Can you still follow the taller grass lines? Are there gaps between the bunny-tail heads? If the soft heads dominate every view, take out one pair and look again.
Adding stems to every gap gradually hides the differences between the plants. Stop while each texture still has room.
Trim, tie and place in the pot
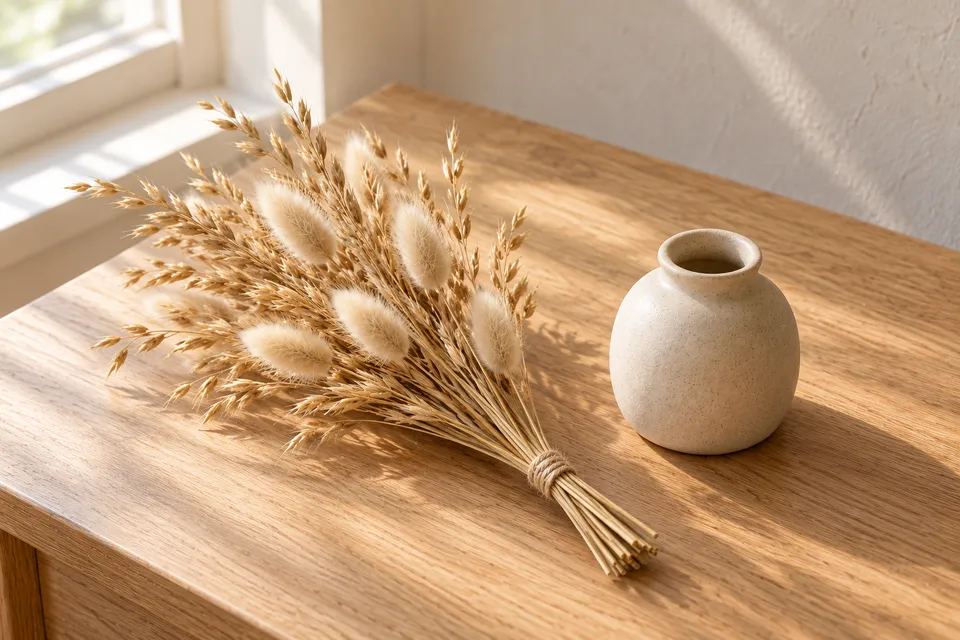
Check the lower stem length against the inside depth of the pot. Trim with scissors or snips so the bunch sits at the height you chose. Check before each further cut, especially if the vessel is shallow.
Tie the stems where you were holding them. Wrap a narrow ribbon around the lower bundle twice, then knot it. Jute twine keeps the finish close to the natural stem colors. A soft ribbon in a similar shade can become a small decorative detail of its own.
Place the bunch in the pot and check the heads from the sides you will see. Keep the upper stems free enough for the grasses to rise and the bunny tails to sit at their separate heights.
Adjust a crowded or uneven result
What you see | What to change |
|---|---|
Only the tips show above the pot | Before the final trim, lift the bunch and check how far it enters the vessel |
Bunny tails form one dense, level cap | Change the head heights or remove a pair |
The lower bundle is too thick for the neck | Take it out and reduce the number of stems while keeping the different textures |
One side has a bare patch | Before tying, move some grasses or a pair of bunny tails into that space |
For a second version, keep the same two materials and try a different pot or ribbon. Check the proportions again before trimming: a change of vessel can alter how much of the bunch shows.
An optional variation with fine sprigs
For a variation of your own, try a few small sprigs of dried flax between the grasses and bunny tails. Compare this version with the two-texture bunch before tying either one. Divide the branching stems into small pieces and place them in selected gaps, leaving the bunny-tail heads visible. Add a little at a time and take the sprigs out if the outline becomes crowded.
Try a second version with the same materials
Set aside enough stems for another small bunch. Keep the same palette and change the spacing of the bunny tails: cluster a few heads more closely on one side, then leave a wider gap elsewhere. Compare the two outlines before tying. This gives you a useful choice to make with the materials already on your table.
Compare more dried flower shapes and places to display them.